Understanding and Replacing Clock Weights: A Comprehensive Guide
Clock weights are an often-overlooked but crucial component of antique and vintage clocks. They power the movement, and incorrect or damaged weights can lead to a clock stopping or running erratically. This guide will cover identifying different types of clock weights, understanding their markings, and learning the proper techniques for replacing them. Whether you're a beginner or experienced clock enthusiast, this article will give you a solid understanding of clock weights. Dealing with antique clocks can be rewarding, but often requires a deeper understanding of their mechanics. For those looking to go beyond simple weight replacement and delve into the clock's inner workings, you might find a beginner’s guide to dismantling and reassembling an antique clock movement helpful in understanding the larger system.
Identifying Clock Weight Types
Clock weights typically fall into a few broad categories, each associated with specific clock types. Knowing what kind of weights your clock requires is the first step to successful replacement.
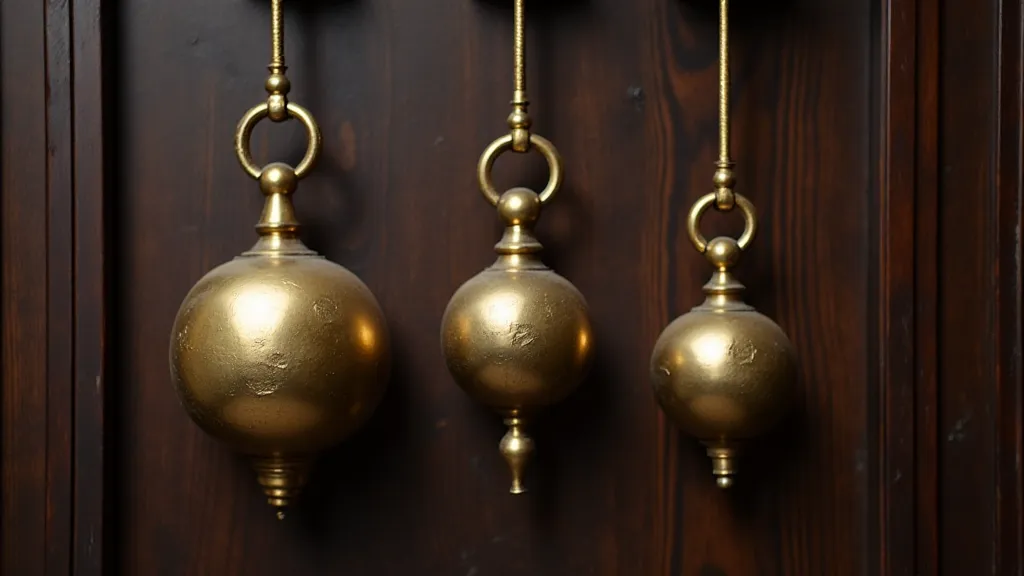
Suspension Weights
These are the most common type, primarily used in grandfather clocks (longcase clocks) and some tall clocks. They hang from the movement via a system of cables or chains. Suspension weights often come in sets of two or three, each with a different weight, and are intended to be hung in a specific order (typically heaviest on the right and lightest on the left when facing the clock). They are usually brass or iron. The cables themselves are another critical part of the system, and if they's worn or damaged, it’s a good opportunity to replace them. For a detailed walkthrough of replacing clock cables, be sure to read our guide.
Pulley Weights
Some clocks, particularly those with complex movements, use pulley weights. These weights are attached to a pulley system that transfers the force of the weights to the movement. Identifying pulley weights can sometimes be tricky, as their appearance can vary greatly. The interplay between the weights, pulleys, and overall movement requires a precision understanding of clock mechanics. Often, a thorough cleaning and inspection are needed before attempting any repairs.
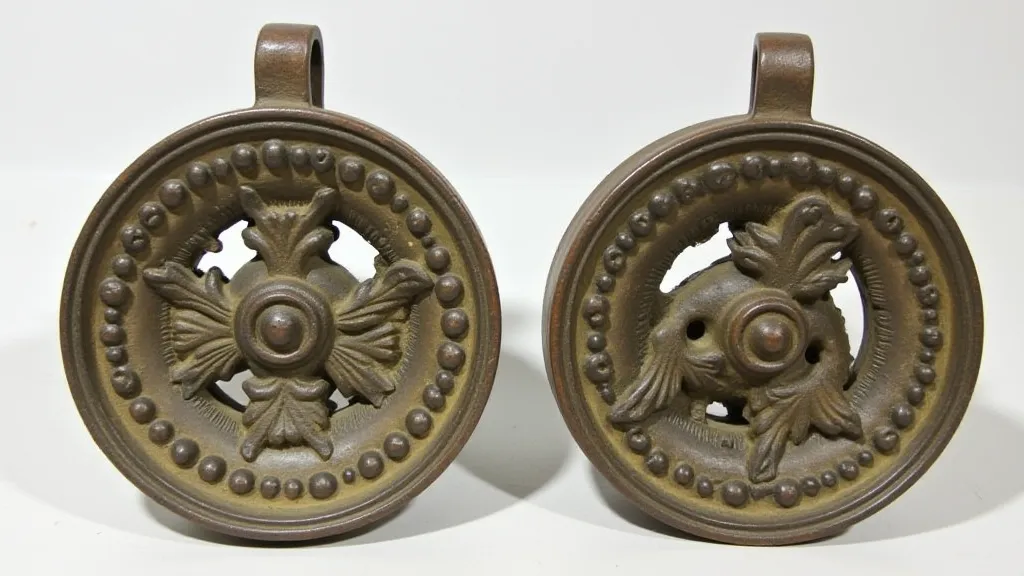
Sector Weights
Sector weights are a less common type, found mainly in German Black Forest clocks and some other European clocks. These weights are shaped like sectors of a circle and rotate around a central spindle to provide power to the clock movement. They are usually made of cast iron and often have decorative markings. The unique construction of these clocks, with their rotating sector weights, demands a specialized approach to maintenance and repair.
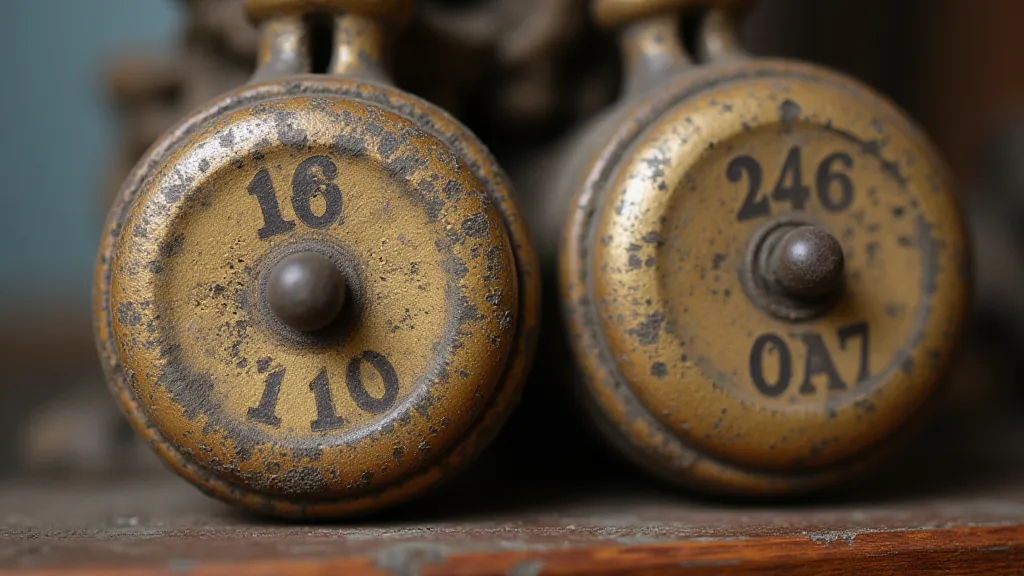
Understanding Weight Markings
Many antique clock weights bear markings that can provide valuable clues about their origin, manufacturer, and intended use. These markings often indicate the weight’s intended position in the clock's system (e.g., "1," "2," "3") and sometimes the manufacturer’s name or logo.
Common Markings:
- Numbers (1, 2, 3): Indicate the weight’s position in the clock's weight system. Refer to your clock’s manual or seek expert advice if unsure.
- Manufacturer's Marks: Often a company name or logo, providing insights into the clock's provenance.
- Weight Designation: Some weights may have markings indicating their nominal weight (e.g., "8 lbs").
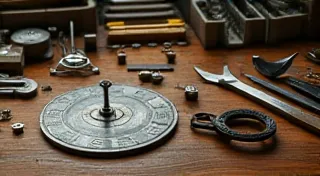
Proper Weight Replacement Techniques
Replacing clock weights requires careful attention to detail. Incorrect weight placement or damaged cables can cause the clock to stop working or even damage the movement. Before you begin, it's important to assess the overall condition of the clock. If the case itself is damaged, restoration might be necessary. You can learn more about identifying and repairing cracked clock cases in our dedicated guide.
Step 1: Identification and Matching
Before removing any weights, carefully identify their type and position. Take pictures of the existing weights in place. If replacing weights, ensure the replacements are of the correct type, weight, and size. This includes not only the visible characteristics but also the attachment points and overall geometry. It's a good habit to document everything before you start disassembly.
Step 2: Careful Removal
Gently remove the weights, one at a time. Pay close attention to how the cables or chains are attached. If the cables are old or frayed, replace them during the weight replacement process. Use appropriate tools – pliers can be helpful, but avoid excessive force. Take note of the direction the cables are routed and how they interact with the pulleys and gears. This will be critical for reassembly.
Step 3: Weight Placement
Replace the weights in the correct order, as indicated by the markings or your clock’s documentation. Ensure the cables are properly seated in their grooves and that the weights hang freely. Incorrect placement will undoubtedly lead to issues. Even a minor misalignment can cause the clock to stop or run erratically.

Step 4: Cable Inspection & Replacement
While replacing weights, it's highly recommended to inspect the cables or chains. Signs of wear (fraying, kinking, rust) indicate a need for replacement. Replacing old cables ensures the clock’s reliable operation. Using the correct gauge and material for the replacement cables is essential for proper weight suspension.
Troubleshooting Common Issues
Clock Stops After Weight Replacement: Ensure the weights are placed in the correct order and that the cables are properly seated. A common oversight is to simply reverse the order of the weights when replacing them.
Clock Runs Erratically: Incorrect weight or cable tension can cause erratic running. Check for any obstructions or binding within the cable system. Also, ensure that the pulleys are rotating freely and that the gears are properly meshed. If the clock continues to exhibit erratic behavior, it might be time to seek professional assistance.
If you're experiencing difficulties, it's worth reviewing the entire system, as the problem might not be directly related to the weights themselves. It could be a misalignment, a worn gear, or even a problem with the pendulum.
Disclaimer: Working on antique clocks can be complex. If you are unsure about any aspect of weight replacement, consult a qualified clock repair specialist. It is always better to err on the side of caution and seek professional help when dealing with delicate and valuable antique clocks.