A Beginner’s Guide to Dismantling and Reassembling an Antique Clock Movement
Dismantling and reassembling an antique clock movement is a crucial step in many repair and restoration projects. While it might seem daunting for beginners, following a careful and methodical approach can make the process manageable. This guide will walk you through the basics, emphasizing organization and documentation for a successful outcome.
Before You Begin: Essential Precautions
Safety is paramount. Antique clock movements often contain small, delicate parts and potentially brittle materials. Always wear appropriate eye protection and work in a well-lit area with a clean, stable workspace. The potential energy stored within the mainspring, in particular, is a significant hazard, and improper handling can lead to injury. Understanding how to safely address this component is critical to a successful and safe repair.
Key Supplies:
- Clean workspace with good lighting
- Magnifying glass or loupe
- Small, labeled containers (e.g., pill bottles, small boxes)
- Soft cloths
- Tweezers
- Clockmaker's screwdrivers (various sizes)
- Digital camera or smartphone
- Clock hold-down clamp or similar device
Step 1: Documentation – Your Best Friend
Before you touch a single screw, thoroughly photograph the movement from multiple angles. This serves as an invaluable reference during reassembly. Take close-up shots of key components and their relationships. Consider a short video to capture movement nuances. Accurate documentation helps prevent frustration and errors during the often-complex reassembly process.
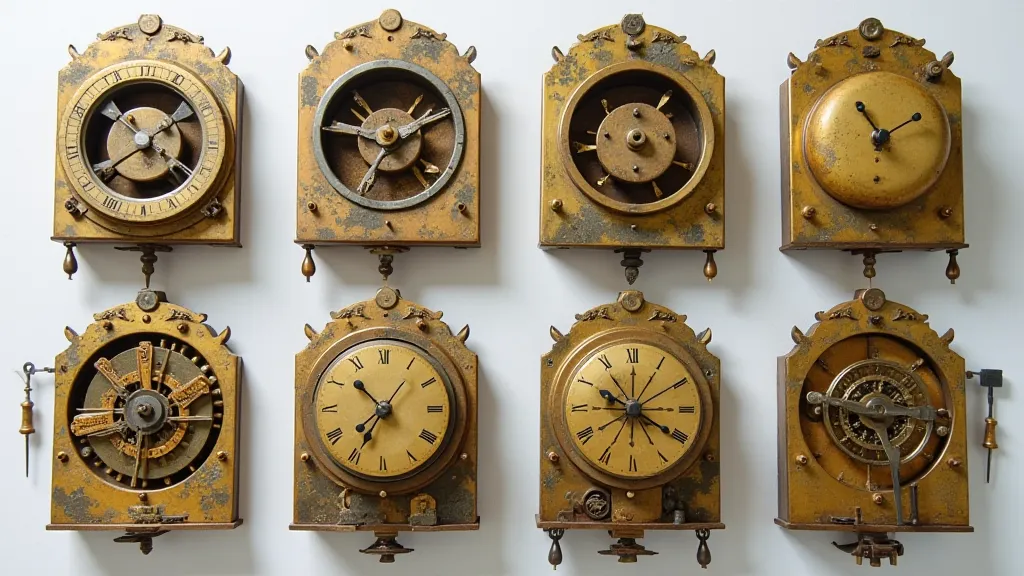
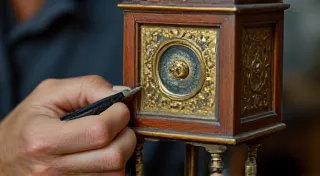
Step 2: Initial Assessment and Securing the Movement
Observe the movement carefully. Note any obvious damage or areas of concern. Secure the movement to your workbench using a clock hold-down clamp or similar device. This prevents accidental movement and damage. It's also helpful to visually inspect the pendulum and its suspension spring, as these are vital for accurate timekeeping and are often a source of issues.
Step 3: Removing the Plates
Typically, dismantling starts with removing the front and back plates. Carefully loosen screws and gently separate the plates, paying close attention to how they interact. Place each plate in a labeled container. It’s essential to be aware of the potential for damage to delicate screws and threads during this process. Sometimes, screws can be difficult to remove due to corrosion or previous over-tightening.
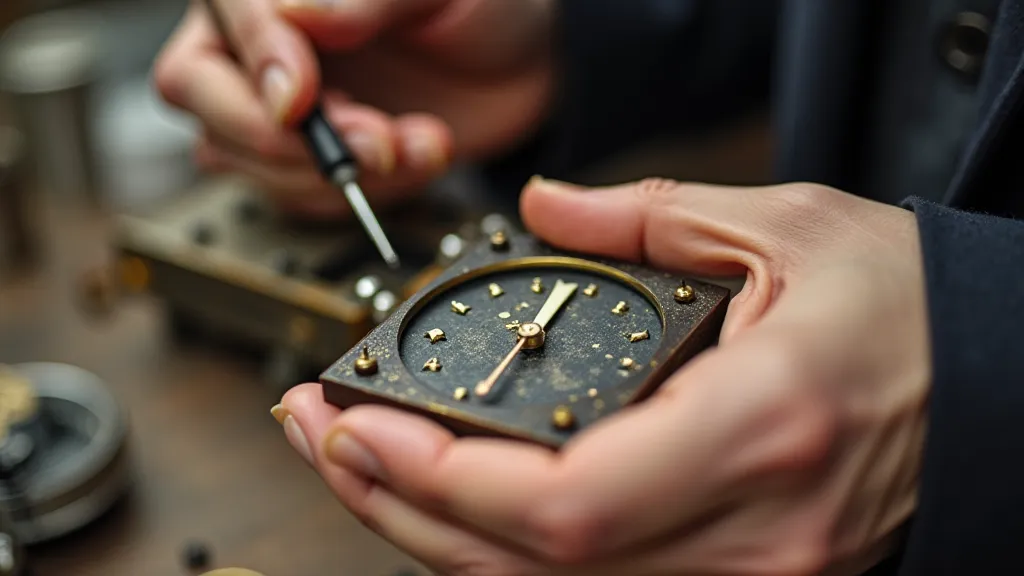
Step 4: Dealing with the Escape Wheel and Pallets
The escape wheel and pallets are delicate. Remove them carefully, noting their orientation. These are critical for the clock’s timekeeping, so handle with utmost care. Proper maintenance and understanding how these components interact is crucial to the overall health and accuracy of the clock. If you are experiencing issues with a clock running fast or slow, examining the escape wheel and pallets might be a good starting point – you can find more specific calibration tips in our guide on troubleshooting a clock that runs fast or slow.
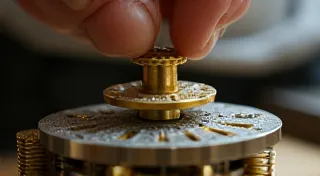
Step 5: Disassembling the Train of Gearing
Remove the gear train one wheel at a time, carefully placing each wheel in a labeled container. Note the order and position of each gear, as this is essential for accurate reassembly. This is often the most time-consuming part of the project, and meticulousness is key to success. Be mindful that gears can be worn or damaged over time, affecting the clock’s performance. If you’re facing challenges with damaged or worn gears, our comprehensive guide on repairing damaged clock gearing covers techniques for rebuilding and replacement.

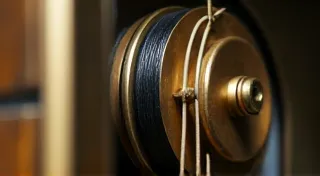
Step 6: Addressing the Mainspring
If the movement contains a mainspring, exercise extreme caution. The stored energy can be significant and dangerous. Follow proper procedures for disengagement and removal (this often requires specialized tools and knowledge – research this step extensively before attempting). This is a point where seeking expert guidance is highly recommended. Incorrect handling can result in serious injury. Understanding the mechanics of how the mainspring interacts with the rest of the clockwork is essential for any serious repair endeavor.
Step 7: Disassembling the Pendulum and Suspension Spring
Carefully remove the pendulum and suspension spring, noting their orientation and the method of attachment. These components are crucial for accurate timekeeping. Examine the suspension spring for signs of wear or damage; a broken or weakened spring can lead to erratic timekeeping.
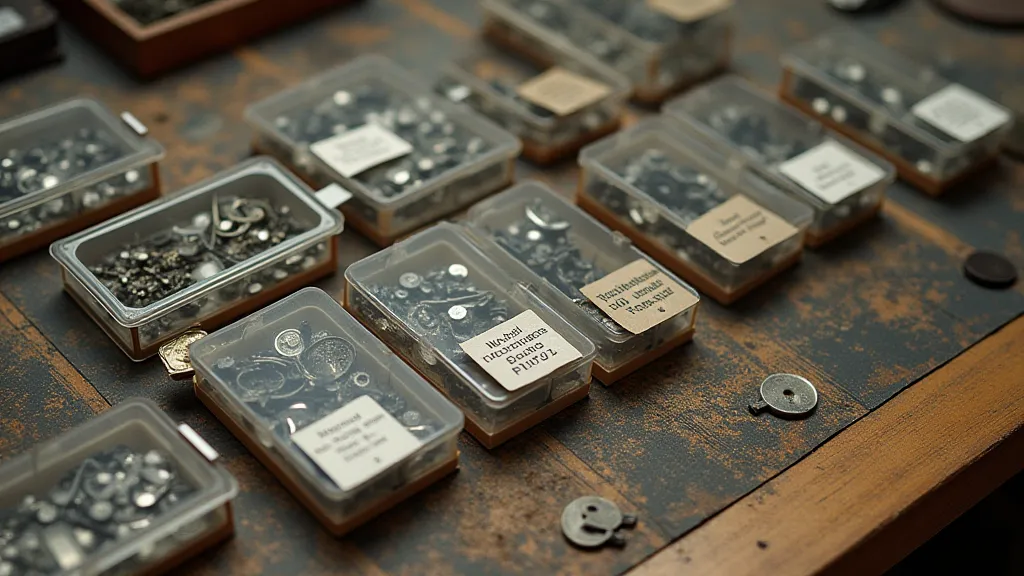
Step 7: Organization and Labeling - The Key to Success
Throughout the entire process, meticulous organization is key. Label each container clearly, indicating the component and its location within the movement. A simple numbering system (e.g., "Gear Train - Wheel 1," "Plate - Front") works well. Consider using color-coded labels or a detailed spreadsheet to track each part’s location. This level of detail will be invaluable during reassembly.
Reassembly: The Reverse Process
Reassembly is essentially the reverse of dismantling. Refer to your photographs, notes, and labeled containers to ensure each component is placed correctly. Pay close attention to screw tightness – too loose or too tight can damage the movement. Using a specialized torque wrench can help ensure proper screw tightness. It's also crucial to remember that some components may require lubrication during reassembly to ensure smooth operation.
Final Checks and Lubrication
Once the movement is reassembled, perform thorough checks to ensure proper function. Apply appropriate clock oil to key pivot points. Test the movement's operation and adjust as necessary. The appearance of the clock's face is also important to the overall aesthetic. If the original dial is damaged or missing, identifying a suitable replacement can be challenging – our guide on identifying and matching antique clock dial faces can offer valuable assistance in this process.
Disclaimer: This guide provides a general overview. Specific movements may require different approaches. Always consult detailed repair manuals and seek expert advice when dealing with complex or valuable clocks. Consider also consulting resources on clock cable replacement if your clock is weight-driven, to ensure proper functionality and avoid undue stress on the mechanism.