Repairing Damaged Clock Gearing: Techniques for Rebuilding & Replacement
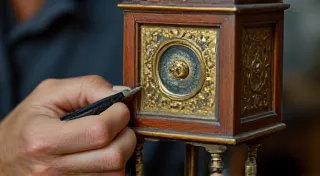
The intricate dance of gears within an antique clock is a marvel of engineering, but these delicate components are often the first to suffer the effects of age and wear. Repairing damaged clock gearing is a crucial part of clock restoration and a common challenge for those undertaking their own clock repair projects. This guide explores the techniques involved, from careful rebuilding to necessary replacements, giving you the knowledge to tackle this essential aspect of antique clock maintenance. Understanding the mechanics involved is paramount; a solid grasp of how a clock movement functions—and where those gears interact—is vital before attempting any repairs. Before you even consider rebuilding or replacement, a complete disassembly and careful cleaning of the movement is often a beneficial first step.
Understanding Gear Damage
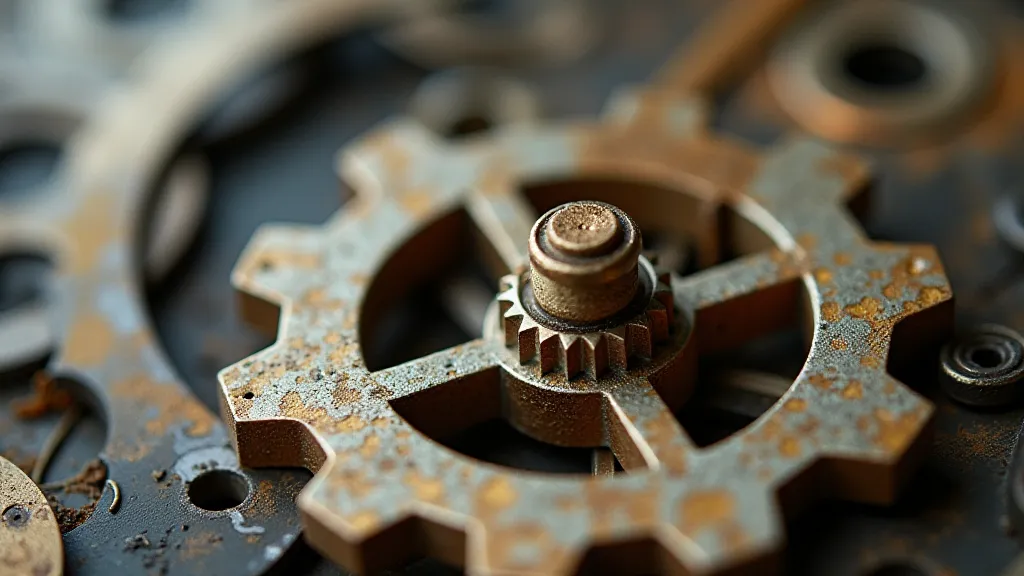
Before diving into repair methods, it's important to understand the types of damage you might encounter. Common issues include:
Rebuilding Damaged Gear Teeth
In some cases, particularly with minor damage like chipped or slightly worn teeth, rebuilding is possible. This requires patience and specialized skills. It's also crucial to accurately diagnose the *cause* of the damage; simply rebuilding without addressing the underlying issue is a recipe for repeated problems. Before attempting any repairs, consider consulting resources or experienced clockmakers if you’re unsure.
Welding and Soldering: A Delicate Process
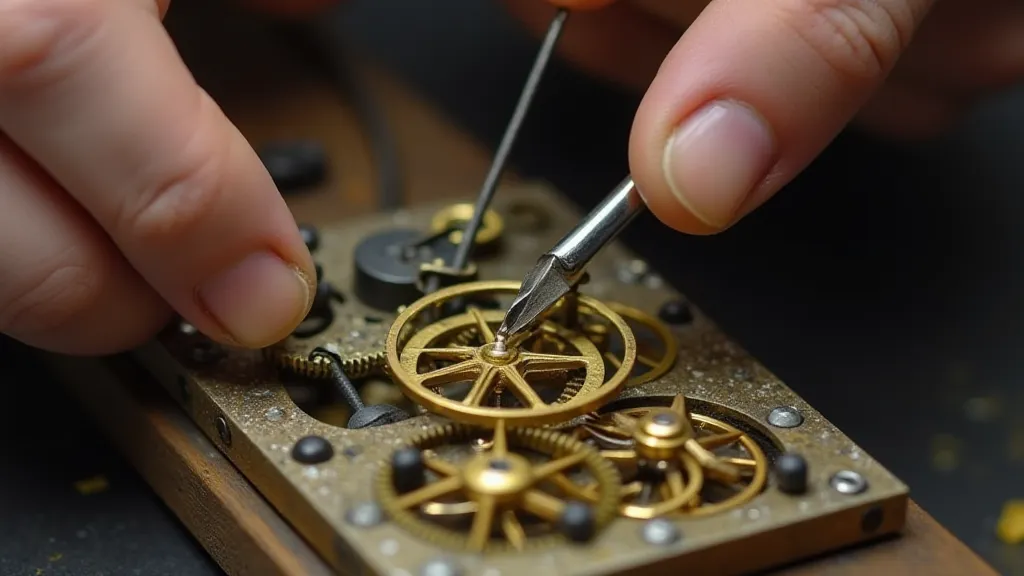
Small pieces of gear teeth can sometimes be reattached using careful soldering. The key is using a low-temperature solder suitable for brass or the gear's metal. Thorough cleaning of the surfaces to be joined is absolutely critical for a strong bond. Flux is essential to remove oxidation and promote solder flow. Practice on scrap brass beforehand to gauge your skill and heat control. Overheating can damage the surrounding metal, weakening the gear and potentially leading to further breakage. Maintaining a consistent and controlled heat is crucial; a variable-temperature soldering iron is often preferable to an open flame for precise temperature control.
Silver Braze (Brazing) - For More Extensive Repairs
For more significant damage, silver brazing offers a stronger bond than soldering. This technique involves using a silver-based alloy and a higher temperature flame. Silver brazing requires more specialized equipment and skill, as the heat can easily distort the gear. Proper fixturing to hold the gear securely during the process is crucial. Again, practice on scrap material is vital. The choice between soldering and brazing often depends on the severity of the damage and your level of experience. It’s important to understand the metallurgical implications of each process, as improper brazing can create brittle joints.
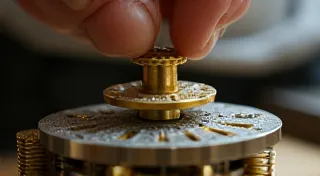
Sourcing Replacement Gears
When rebuilding isn't feasible, or the damage is too extensive, sourcing replacement gears is the best option. This can be more challenging, but several avenues exist. Before embarking on the search, it’s vital to accurately measure the existing gear. Differences in diameter, tooth count, or tooth profile can dramatically affect the clock's accuracy, as highlighted in Troubleshooting a Clock That Runs Fast or Slow: Calibration Tips. Even seemingly minor discrepancies can cause the clock to run erratically.
Important Considerations
Beyond the technical aspects of rebuilding or replacement, several crucial considerations apply. It's not sufficient to simply find a gear that *looks* similar; ensuring compatibility across multiple fronts is essential for a successful repair.
Advanced Techniques and Considerations
Beyond the basics, more advanced repair techniques may be required for particularly challenging cases. These can include gear cutting (creating entirely new gears from scratch) and specialized heat treatment processes to strengthen existing gears.
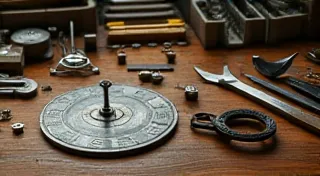
When disassembling a clock movement, it’s often beneficial to lay out the components in a logical order, perhaps using a labeled tray or diagram. This helps prevent confusion during reassembly and ensures that all necessary parts are accounted for. Understanding the principles of clock escapement mechanisms is also important, as these components interact directly with the gears and can be a source of timing errors.
Conclusion
Repairing damaged clock gearing can be a demanding but rewarding endeavor. Whether you choose to rebuild or replace, careful planning, attention to detail, and a steady hand are key to success. With practice and patience, you can restore these intricate mechanisms and preserve the beauty and functionality of your antique clocks. Remember that clock repair is a craft that takes time and dedication to master. Don’t be afraid to seek guidance from experienced clockmakers or consult online resources to expand your knowledge and skills. The satisfaction of bringing a silent clock back to life is well worth the effort.