Replacing Clock Cables: A Detailed Guide for Weight-Driven Clocks
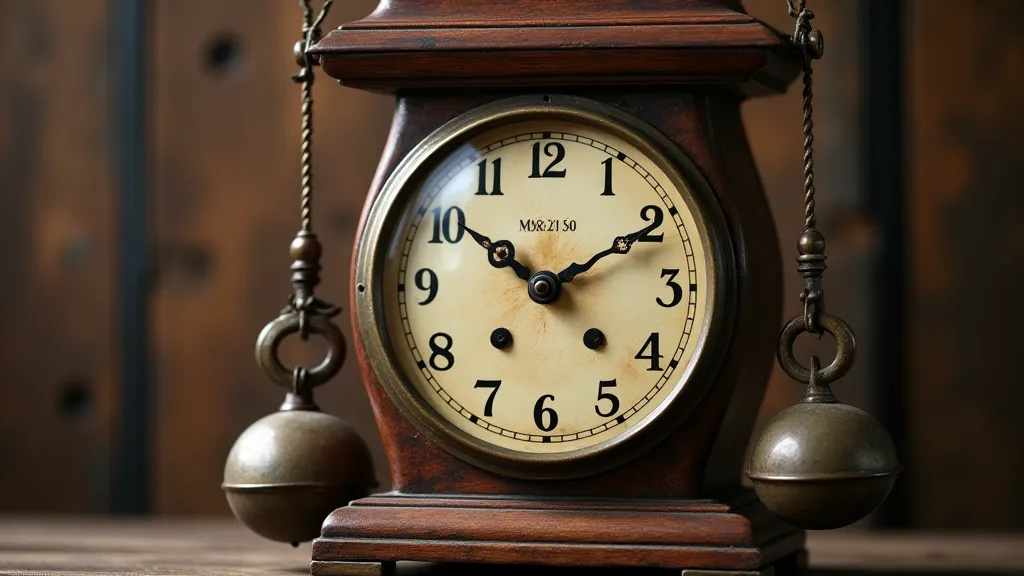
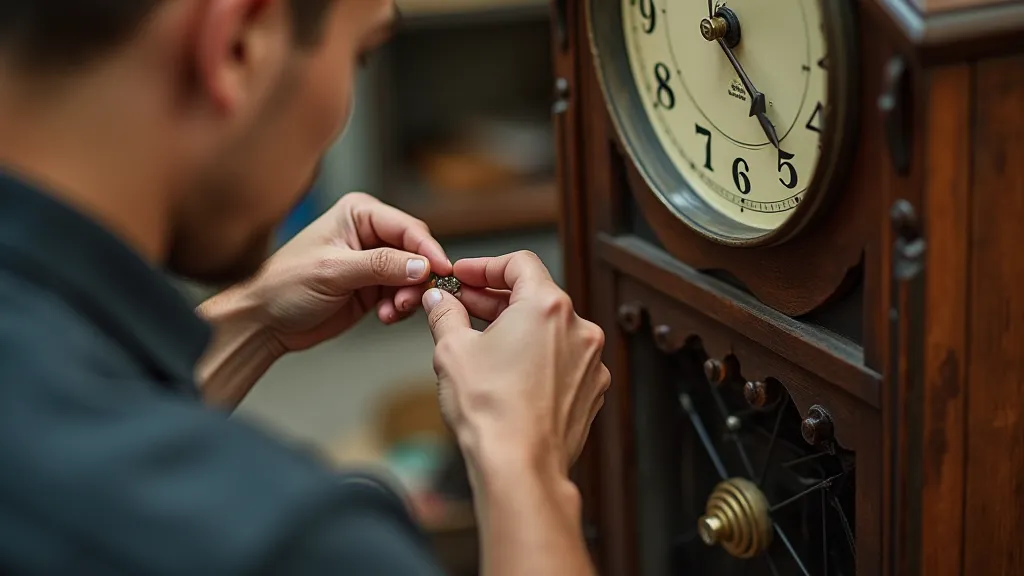
One of the most common repairs needed for weight-driven antique clocks is replacing the cables that connect the winding drum to the weights. These cables, typically made of bronze or steel, can become brittle, fray, or simply break over time, halting the clock's operation. This guide provides a step-by-step process for safely and effectively replacing these cables, preserving the clock's functionality and value. Before you begin, it's a good idea to understand the importance of preserving the overall condition of your clock. Sometimes, this means more than just cable replacement – the finish, for example, requires specific care. Consider exploring our guide to cleaning & polishing antique clock cases to learn how to protect the original finish and aesthetic appeal of your timepiece.
Understanding the System
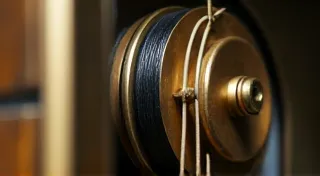
Before you begin, it's crucial to understand how the cable system works. The winding drum, driven by the winding key, rotates and winds the cable. The cable then passes over pulleys and connects to the weights, allowing them to descend under their own weight, driving the clock's mechanism. Correct cable routing and proper tension are essential for smooth and reliable operation. The internal workings of these clocks are wonderfully complex, and issues can arise from various sources. You might find that rust is hindering movement, which is something we address in detail in our article on dealing with rust on antique clock movements. Understanding the potential for rust and taking preventative measures is vital for long-term clock health.

Safety First: Securing the Clock
Weight-driven clocks are heavy and powerful. Safety is paramount. The first step is to ensure the clock is stable and secure before commencing any work. Incorrect handling can also impact the clock's movement and timekeeping. If you’re finding the clock runs fast or slow, this could be related to other issues, so we have a guide on troubleshooting a clock that runs fast or slow which might be helpful.
- Secure the Clock: Place the clock on a stable, level surface.
- Support the Weights: Use a rope or cord to support the weights to prevent them from dropping suddenly. This is vital, as a sudden weight drop can damage the clock's movement and potentially cause injury.
- Disconnect the Pendulum: Remove the pendulum and any associated suspension springs for safety and to prevent accidental damage.
Gathering Your Materials
You’ll need the following:
- New Clock Cable: Ensure the new cable is the correct length and diameter for your specific clock model. It’s often advisable to purchase a slightly longer cable, which can then be trimmed.
- Clock Lubricant: A quality clock oil for lubricating the pulleys and cable drums. Maintaining proper lubrication is critical to preventing issues with the clock's mechanism.
- Pliers or Cable Crimpers: For securing the cable ends (depending on the clock's design).
- Needle-Nose Pliers: Helpful for manipulating the cable.
- Soft Cloth: For cleaning and wiping down components.
- Humidity Monitor (Optional): Consider using a humidity monitor to ensure your clock's environment is suitable. Consistent humidity levels are essential for maintaining the integrity of the wood and metal components. We're big advocates for the importance of humidity control for antique clocks as a preventative measure.
Step-by-Step Cable Replacement
- Document the Existing Cable Routing: Before removing the old cable, carefully observe and document its routing. Take photos or make a sketch. This will be invaluable when installing the new cable.
- Remove the Old Cable: Carefully unwind the old cable from the winding drum, taking note of the path it takes around the pulleys. If the cable is stuck, gently work it free. Disconnect the cable from the weights. Sometimes, stubborn cables are a sign of underlying issues, like corrosion.
- Install the New Cable: Begin winding the new cable onto the drum. Follow the documented route precisely, guiding the cable around the pulleys. Pay attention to how the cable sits on the pulleys; it should have a smooth, even path. It’s a delicate process, and getting the routing correct from the start is important for proper operation.
- Secure the Cable Ends: The method for securing the cable ends varies depending on the clock's design. Some clocks use crimped ends, while others may use knots or loops. Consult your clock's documentation or a qualified clockmaker if unsure. Ensure the connection is secure and won't slip. Incorrectly secured cable ends can lead to the cable slipping or breaking, so double-check your work.
- Tensioning the Cable: This is a critical step. The cable needs to be taught enough to transmit power effectively, but not so tight that it puts excessive strain on the movement. A slight sag is usually desirable. Over-tensioning can cause undue stress on the winding drum and gears, potentially leading to premature wear or breakage.
- Lubrication: Lubricate the pulleys and cable drum with a small amount of clock oil. Regularly lubricating your clock's components, not just the cable and drum, will help extend its lifespan.
Testing and Final Adjustments
After replacing the cable, carefully test the clock’s operation.
- Wind the Clock: Wind the clock slowly and observe how the weights descend. Listen carefully for any unusual noises during the winding and descending process, as these might indicate a problem that needs further investigation.
- Check for Smooth Operation: Listen for any unusual noises or jerky movements. Even a minor irregularity can indicate that the cable isn't seated correctly or that the tension needs adjustment.
- Make Adjustments: If necessary, adjust the cable tension slightly to optimize the clock’s performance. Small adjustments can make a big difference in the clock's accuracy and overall smoothness of operation.
- Replace Pendulum: Reattach the pendulum and suspension springs.
- Monitor Performance: Observe the clock's performance over the following days. Ensure it keeps accurate time and that the cable remains properly tensioned.
Replacing clock cables can be a rewarding experience for the dedicated clock enthusiast. With patience and attention to detail, you can restore your antique clock to its full operational glory. Remember that proper care and maintenance are crucial for preserving the beauty and functionality of your antique timepiece. Don's neglect the case! Cleaning and polishing will protect the wood and metal. Learn more about cleaning & polishing antique clock cases.