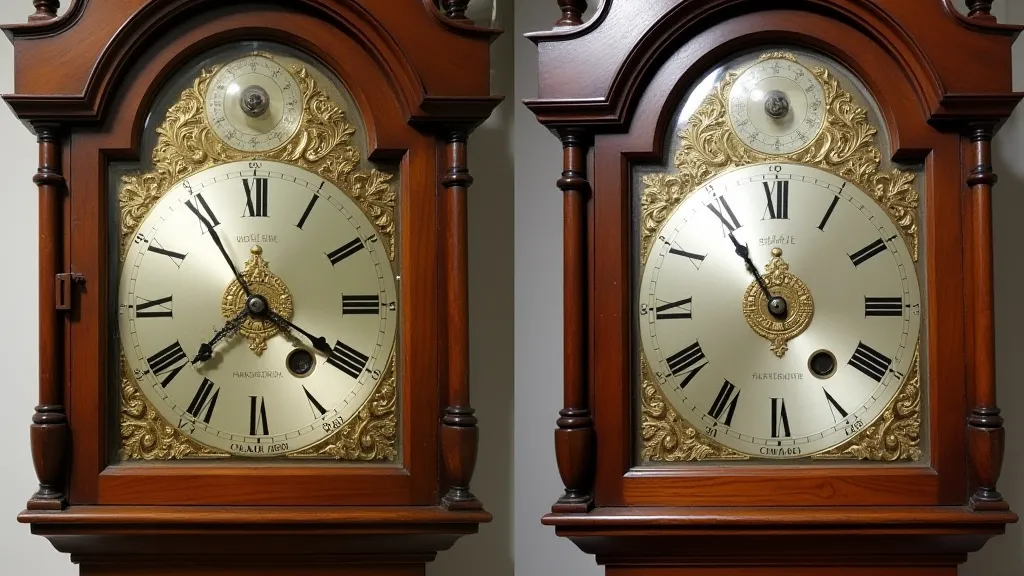
Understanding & Replacing Antique Clock Mainsprings: A Step-by-Step Guide
Replacing a mainspring in an antique clock is a task that demands respect for the delicate mechanisms involved. A mainspring stores the energy that drives the clock's movement, and improper handling can lead to injury or irreversible damage. This guide will walk you through the process, emphasizing safety and proper technique. We're focusing on the common challenges faced by those undertaking this repair. Before tackling a mainspring replacement, it's crucial to have a general understanding of clock mechanisms and common issues. If you’re dealing with a completely stopped clock, it might be worth investigating troubleshooting a stopped antique grandfather clock before proceeding with a mainspring replacement.
What is a Mainspring and Why Does it Need Replacing?
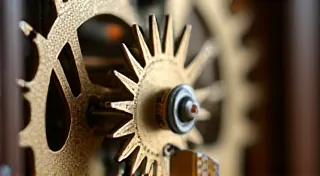
The mainspring is a long, flat, coiled spring housed within the clock's movement. It slowly unwinds, releasing its stored energy to power the gears. Over time, mainsprings lose their elasticity – they 'sag' – meaning they don’t store as much energy and the clock runs shorter periods. They can also break, requiring immediate replacement. Rust, corrosion and physical damage are also common reasons for replacement.

Safety First: The Importance of Proper Handling
This is the most crucial section. Mainsprings store considerable energy. Releasing that energy unexpectedly can cause serious injury. Always wear safety glasses and work gloves. Never attempt this repair without the proper tools and a firm understanding of the principles involved. It's highly recommended to have someone present during this process, especially if you're a beginner. Beyond the inherent danger of the mainspring itself, remember that older clock mechanisms often have brittle parts. Careful handling and a methodical approach are paramount to prevent further damage. A broken clock hand is a common sight in antique clocks, and if you encounter that as well, you might need to learn about repairing broken clock hands.
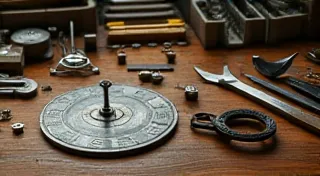
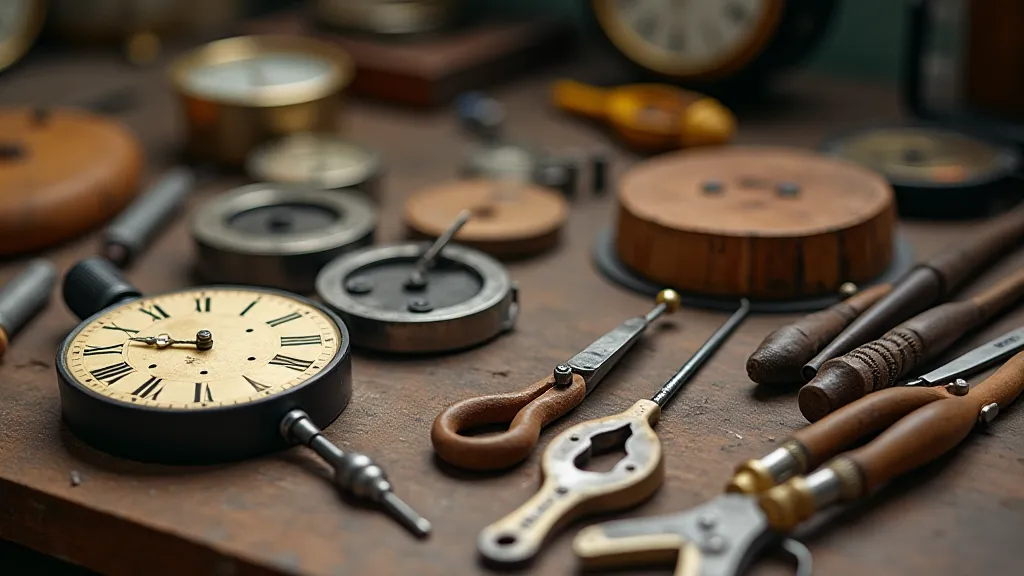
Essential Tools for Mainspring Replacement
You’ll need the following tools to safely and effectively replace a mainspring:
- Mainspring Winding Tool (or Mainspring Jack): This is essential for safely compressing and releasing the mainspring.
- Safety Glasses: Absolutely crucial to protect your eyes.
- Work Gloves: To protect your hands.
- Screwdrivers (various sizes): For disassembling the movement.
- Clockmaker's Oil: For lubricating the new mainspring and related components.
- Needle-Nose Pliers: Useful for manipulating small parts.
- Clean Work Surface: A well-lit and organized workspace is vital. A dedicated clock repair bench is ideal, providing stability and reducing the risk of dropping parts.
- Magnifying Glass or Headset: Often overlooked, but incredibly helpful for examining small parts and identifying wear.
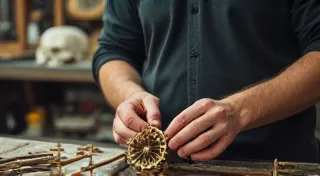
Step-by-Step Guide to Replacing a Mainspring
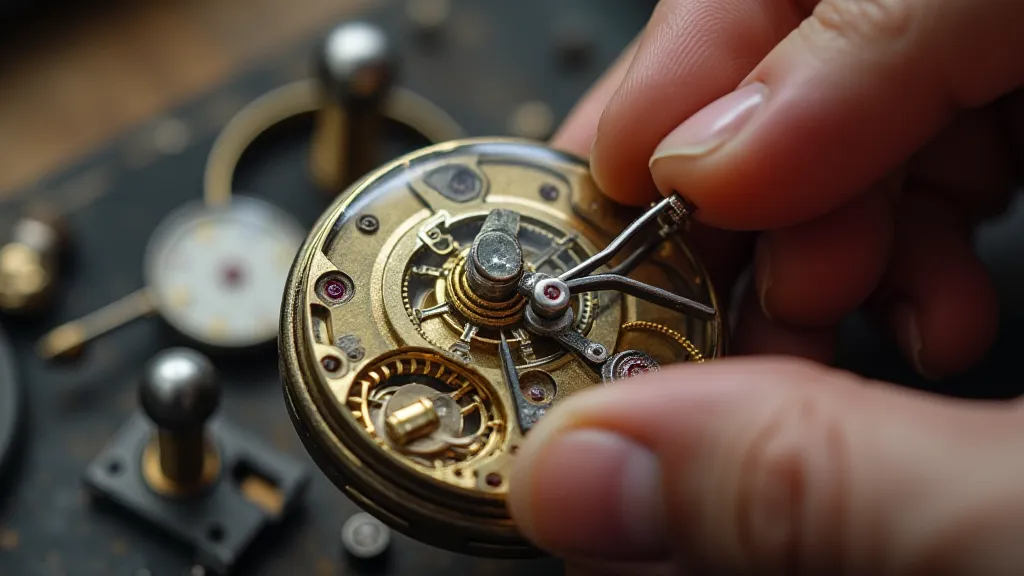
- Disassembly: Carefully disassemble the clock movement, noting the location of each part. Take pictures as you go – this will aid in reassembly. Create a detailed diagram of the disassembled parts to ensure accurate reassembly. Labeling components with small pieces of tape can also be extremely helpful.
- Securing the Movement: The clock movement needs to be firmly secured so it doesn’t move while you’re working on it. Use a specialized clock vise or a stable platform with clamps to prevent movement. This is critical for safety and accuracy.
- Releasing Existing Mainspring: This is where the mainspring winder comes into play. Use the winder to slowly and carefully compress the old mainspring. Don’t force it. Follow the manufacturer's instructions for your specific winding tool. As you compress, ensure the spring is secured and won’t suddenly release. Improper use of the winder can result in the tool slipping or failing, increasing the risk of injury.
- Removing the Old Mainspring: Once compressed, carefully remove the old mainspring from its housing. This often requires manipulating retaining pins or levers. Be mindful of sharp edges and potential pinch points.
- Selecting a Replacement Mainspring: This is crucial. The new mainspring MUST be the correct size and power for your clock movement. Incorrect size or power can damage the clock. Measure the old mainspring carefully, noting its length, width, and the number of coils. Consult a reputable clock parts supplier for assistance. Provide the supplier with as much detail as possible about your clock, including the make and model if known.
- Installing the New Mainspring: Carefully install the new mainspring into its housing. Ensure it is properly seated and aligned. A slight misalignment can cause premature wear or malfunction.
- Compressing the New Mainspring: Using the mainspring winder, slowly and carefully compress the new mainspring to the same tension as the old one. Avoid over-compression, which can damage the spring itself or the clock’s internal components.
- Reassembly: Carefully reassemble the clock movement, referring to the photos you took during disassembly. Double-check all connections and ensure all parts are properly secured.
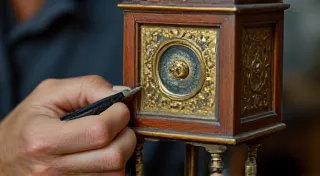
- Lubrication: Lubricate all relevant components with clockmaker's oil. Proper lubrication reduces friction and prolongs the life of the clock’s movement. Use a high-quality clock oil specifically designed for antique clocks.
- Testing: Test the clock's operation to ensure proper function. Monitor the timekeeping accuracy and listen for any unusual noises. Fine-tune the regulator as needed.
Common Pitfalls and Troubleshooting
- Incorrect Mainspring Size: The most common mistake. Double-check measurements. Using a mainspring that is too large can damage the movement, while one that is too small will result in reduced power and inaccurate timekeeping.
- Excessive Tension: Can damage the movement. Release excess tension immediately. This is particularly important for older movements that may be more fragile.
- Damaged Movement: If the movement is already damaged, replacing the mainspring won't solve the underlying problem. Further investigation and repair may be necessary. Rust, corrosion, and broken parts often require specialized tools and expertise.
- Clock Runs Too Fast/Slow: May require adjustment of the regulator. The regulator controls the rate at which the mainspring unwinds, directly affecting the clock's timekeeping accuracy.
- Spring Breakage: A properly installed and lubricated mainspring is less likely to break, but age and fatigue can contribute to failure. Replace the spring immediately if it shows any signs of cracking or distortion.
Replacing an antique clock mainspring is a challenging but rewarding task. With patience, attention to detail, and a commitment to safety, you can restore your clock to its former glory. Remember to consult with a professional if you're unsure about any aspect of the process. Before tackling this project, consider the overall condition of the clock’s mechanism. A comprehensive assessment, potentially involving a clockmaker, can prevent wasted effort and further damage. Understanding the intricacies of antique clock repair is a journey in itself – each clock tells a story, and preserving its functionality is a privilege.