Repairing Broken Clock Hands: From Bending to Soldering Techniques
Clock hands are often the first components to suffer damage on antique and vintage clocks. Whether they're bent from accidental bumps, broken during cleaning, or simply fatigued from years of use, restoring them is a common and often manageable task for the clock repair enthusiast. This guide provides a detailed look at repairing damaged clock hands, covering bending techniques, soldering methods, and sourcing replacement hands if repair isn't possible.
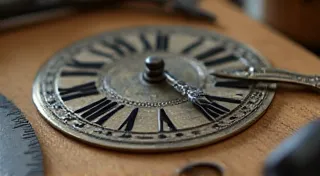
Understanding Clock Hand Construction
Before you begin, it's important to understand how clock hands are constructed. Most antique clock hands are made of brass, steel, or occasionally blued steel. The method of construction varies: some are solid, others are split-shank (with a hole for the spindle), and some are delicate stamped designs. Identifying the material and construction type will influence your repair approach.
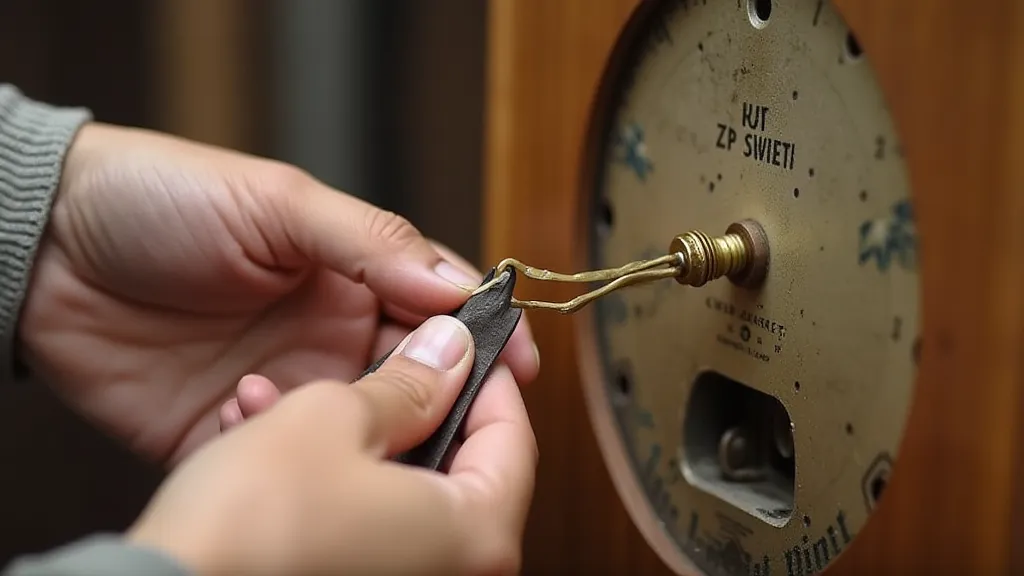
Repairing Bent Clock Hands
A bent clock hand often presents a straightforward repair. The key is to use gentle, controlled pressure. Avoid forcing the hand as this can cause it to crack or break.
Tools for Bending
- Small Pliers: Needle-nose pliers are ideal for precise adjustments.
- Jaw Spreaders: To protect the hand from dents.
- Soft Cloths: To cushion the hand during bending.
The Bending Process
- Secure the Hand: Place a soft cloth on a flat, stable surface. Place the bent hand on the cloth.
- Apply Gentle Pressure: Using the pliers, apply slow, even pressure to straighten the hand. Use the jaw spreaders to prevent dents.
- Check Alignment: Frequently check the hand’s alignment against a known straight edge (like a ruler or a square).
- Polish (Optional): After straightening, a light polish can remove any slight marks left by the pliers.
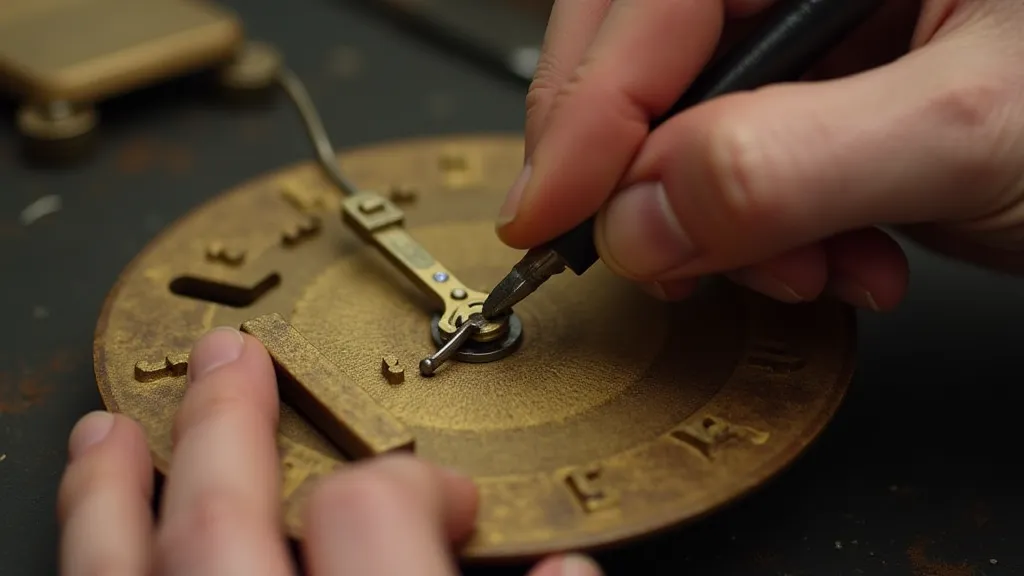
Soldering Broken Clock Hands
If a clock hand has snapped, soldering is often the best repair method. This requires a little more skill and practice, but the results can be very rewarding.
Materials and Tools
- Flux: Essential for cleaning the metal surfaces.
- Solder: Use a solder appropriate for the hand's material (brass solder for brass hands).
- Soldering Iron: A temperature-controlled soldering iron is highly recommended.
- Heat Shield: To protect nearby clock components.
- Small File: For cleaning the solder joint.
The Soldering Process
- Clean the Break: File the broken ends of the hand to ensure a clean, flat surface.
- Apply Flux: Apply a thin layer of flux to both broken surfaces.
- Position the Hand: Carefully align the broken ends.
- Apply Heat: Apply heat from the soldering iron to the joint, allowing the solder to flow smoothly.
- Remove Excess Solder: Remove any excess solder with a soldering wick.
- Clean the Joint: Once the solder joint has cooled, clean it with a small file.
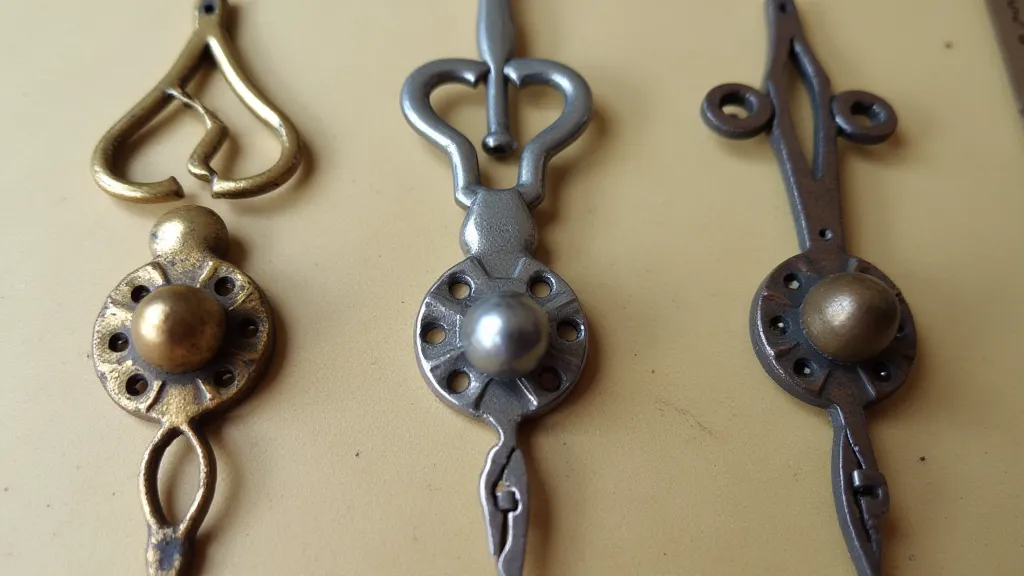
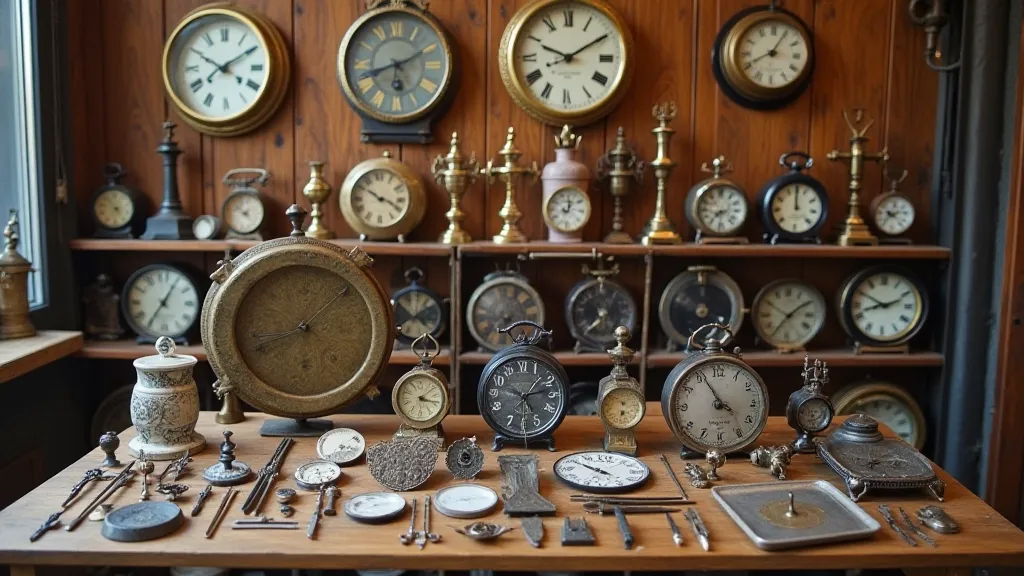
Finding Replacement Clock Hands
Sometimes, repair isn't possible, or the damage is too extensive. In these cases, finding a suitable replacement hand is necessary.
Factors to Consider
- Style: Match the replacement hand’s style (shape, color, and finish) to the clock’s original design.
- Size: The hand's length must be appropriate for the clock's dial.
- Material: Ideally, the replacement hand should be made of the same material as the original.
Where to Find Replacement Hands
- Online Clock Parts Suppliers: Numerous online retailers specialize in clock parts and offer a wide selection of replacement hands.
- Antique Clock Repair Shops: Local clock repair shops may have a stock of replacement hands or be able to source them.
- Antique Markets and Auctions: You might find original or reproduction hands at antique markets or auctions.
Conclusion
Repairing broken clock hands can seem daunting, but with the right tools and techniques, it's a rewarding project for any clock enthusiast. Whether you’re bending a slightly bent hand or soldering a broken piece, careful attention to detail will ensure a successful restoration. Remember to always prioritize safety and seek professional help if you're unsure about any step in the process.